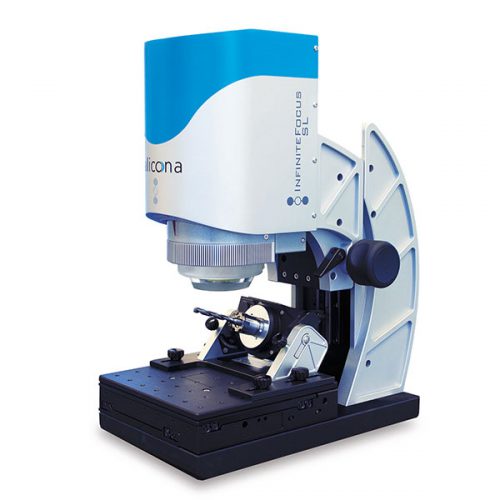
Alicona InfiniteFocus G6
Non-contact optical 3D measurement device for μm and sub-μm tolerances
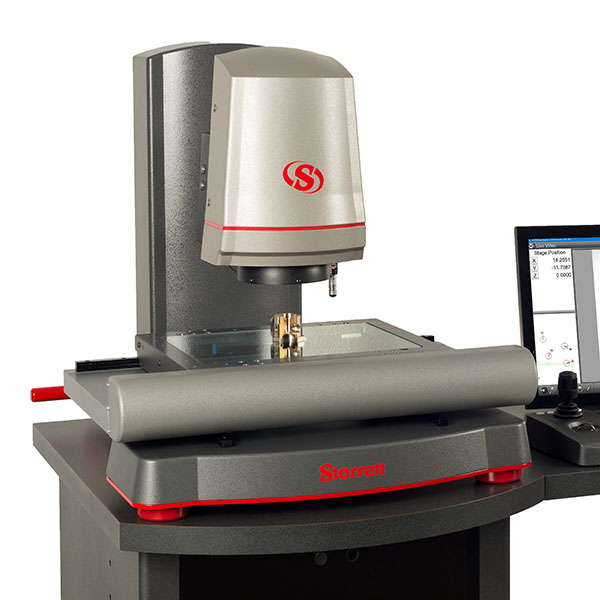
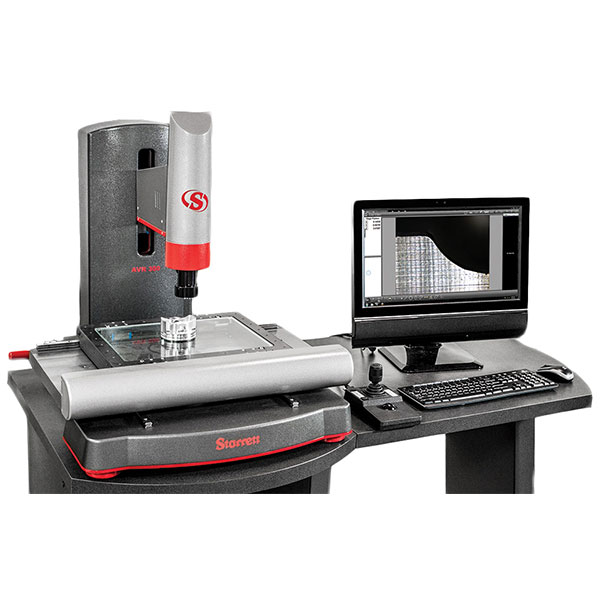
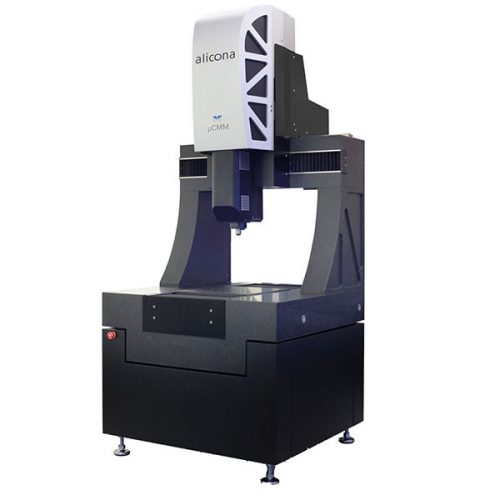
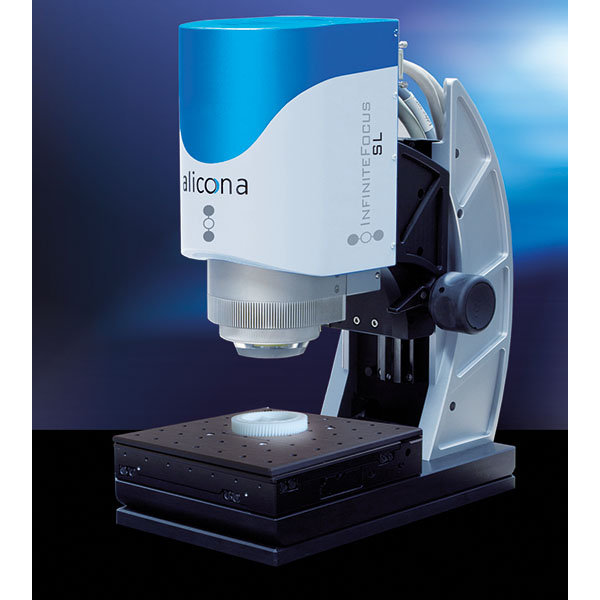
The Alicona G6 is a universal optical 3D measuring device designed for optical surface roughness measurement & shape measurement providing traceable GD&T, and measurement of dimension, position, shape, and surface finish.
Slightly larger than the more compact Alicona FocusX, the G6 uses advanced focus variation, and combines the functionality of a surface roughness and surface texture measurement device (Ra, Rq, Rz/Sa, Sq, Sz), working in the μm and sub-μm range by applying nanometre (nm) resolution.
“How do I measure?” to “What do I measure?” is the core thinking behind MetMaX, the Alicona G6 operating software. This allows users without any specific metrology knowledge to perform robust measurements with the G6 with set up from CAD and working with digital twins to create automated regimes.
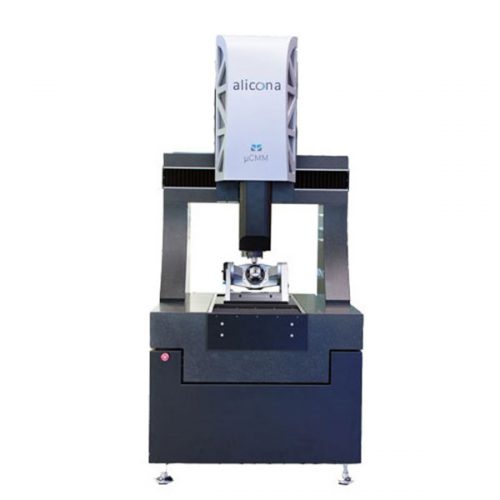
Adding a rotation device creates a 5-axis machine, allowing the full geometry measurement of cylindrical products such as cutting tools and fuel injection nozzles.
Application areas commonly in use include Cutting Tools, Aerospace, Automotive, Medical, Electroforming, both on the shop floor and in the measurement room.
Specifications
- Fast axes and innovative optics with modern algorithms ensure short measurement times
- The MetMaX software sets new standards in usability
- Single-button solutions and automated measurement sequences ensure efficient workflows and measurements without user interaction
- High lateral and vertical resolution
- High repeatability and areal based measurements with high point density
- Traceable and compliant with international standards
- Non-contact, optical, three-dimensional
- Technologies: Advanced Focus-Variation (SmartFlash 2.0), Vertical Focus Probing, Real3D
- Positioning volume (R x T): AdvancedReal3DUnit (optional): Motorized rotation: 360° / Motorized tilt: - 15° to + 90°
Case Study
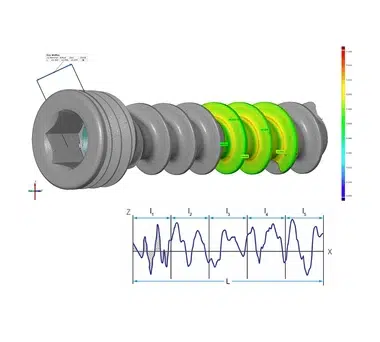
Bone screw measurement with roughness profile
The Real3D technology empowers users to capture comprehensive form/shape measurements of components in a full 360° view. Here, a direct comparison to the respective CAD data set is shown. Plus, measure surface roughness for comprehensive insights.
