Modern turbine engines operate under increasingly high temperatures for maximum exhaust velocity and optimum efficiency. Internal temperatures reach up to 2000°C and yet the melting point of the alloy in the turbine engine is 1300°C.
To prevent self-destruction an advanced cooling system of up to 500 specially shaped cooling holes and bores are drilled through the turbine blades. These holes circulate a thin, turbulent layer of air between the combustion gasses and blades. They are essential for the safe and long term use of the engine.
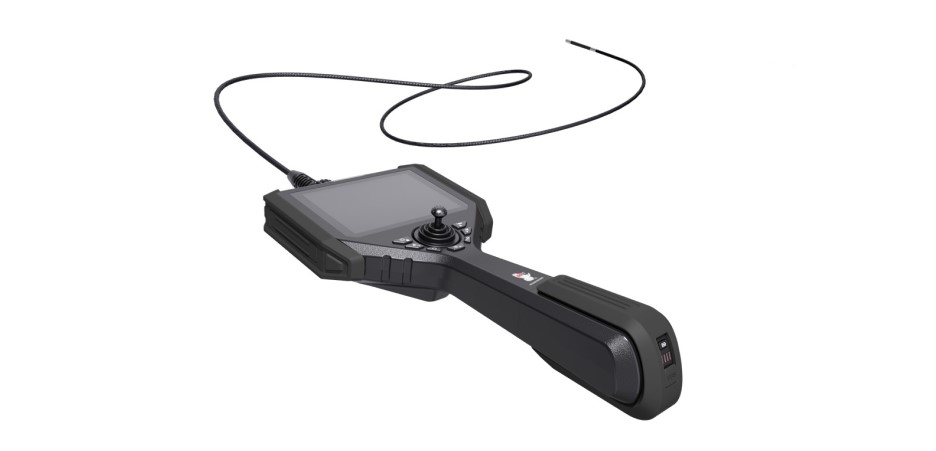
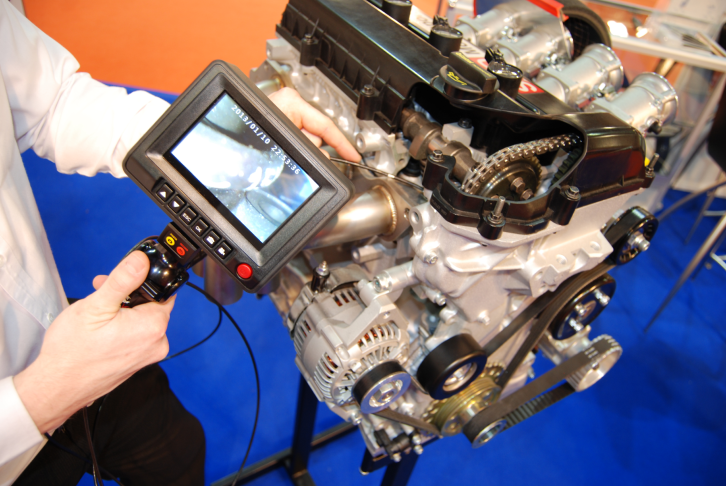
It is critical that each cooling hole corresponds exactly to the CAD data set in regards to angle, size and shape. Cooling holes are freeform and therefore enormously complex to measure. Most traditional metrology devices do not meet the required depth or resolution. Tiny diameter flexible borescopes can offer a precise solution and a video adapter can be attached for real time inspection with a large field of view. However, even with these application focused features, manual inspection is a time consuming process.
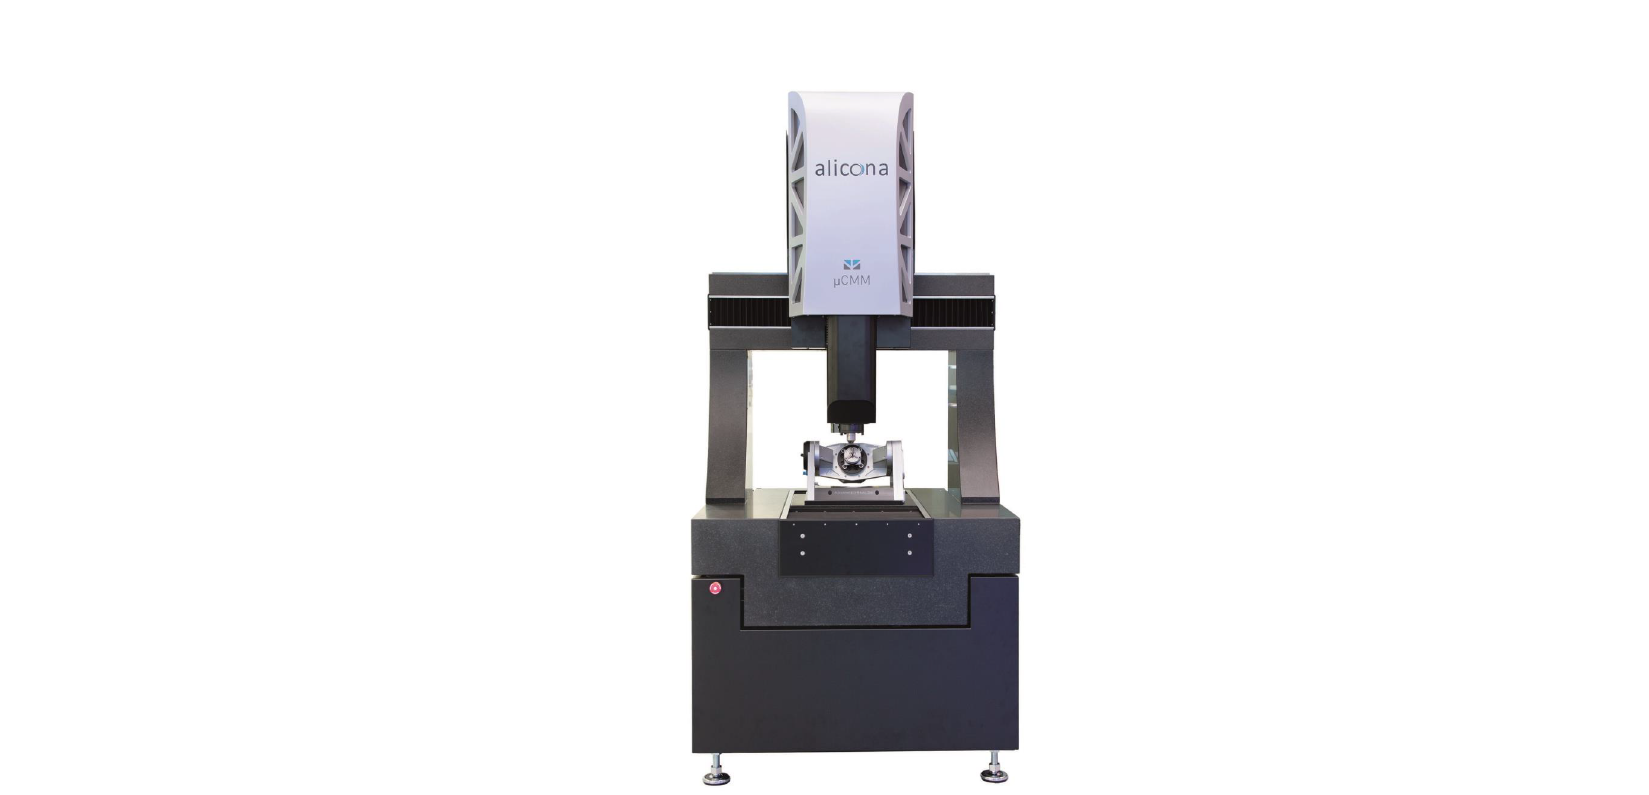
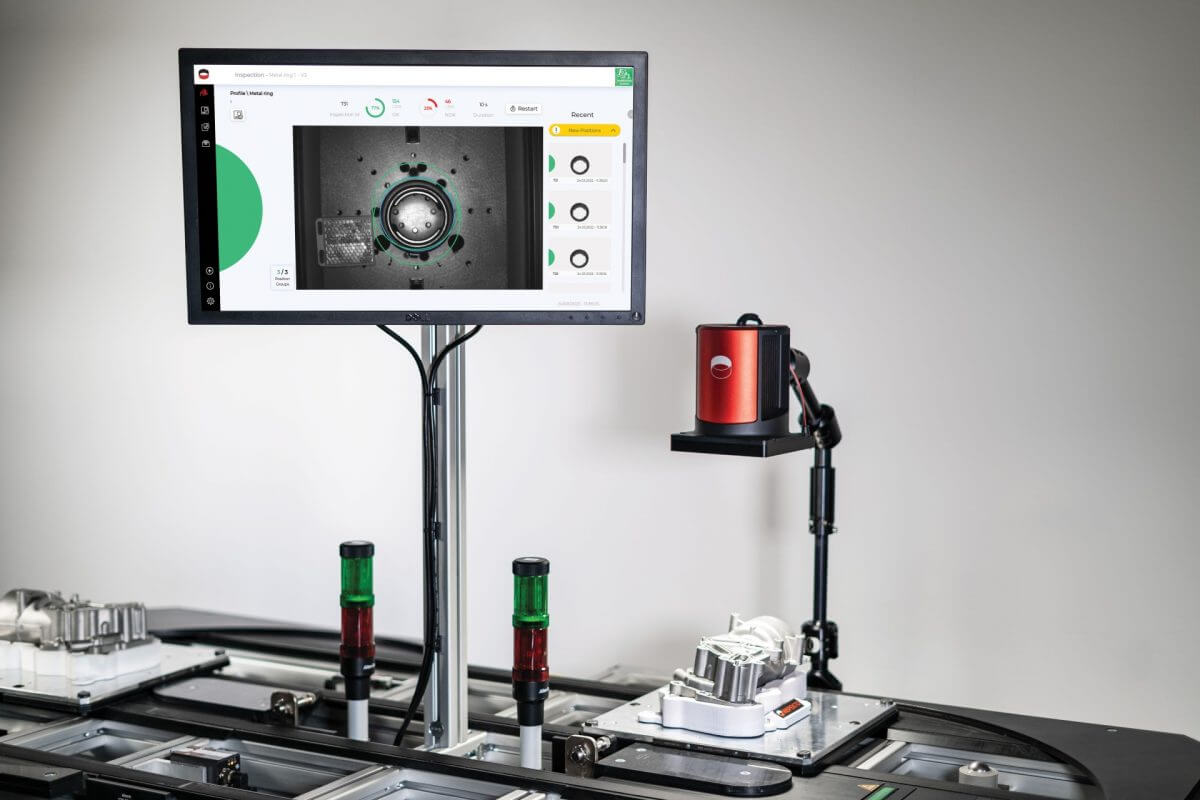
The μCMM from Bruker Alicona presents an automated solution, cutting cycle times and supporting multi-user use. Manual definition of the measuring position is no longer required. The CAD/CAM interface calculates the necessary commands for correct positioning of the component in the measuring system. A simulation then gives a preview of the measurement process to optimise reliability and repeatability. This machine therefore meets the demands of a production environment and is robust, with a low sensitivity to vibration and ambient light to withstand sustained use.
The μCMM combines dimensional measurement like shape and position with surface roughness and defects. The innovative Focus-Variation technology enables the complete detection of the surface with a full depth of field – measuring hole roundness, diameter and the various angles at the transitions. Measurement deviations from the nominal geometry are then displayed immediately on the intuitive touchscreen.
‘No other optical measurement device can measure these fine structures and these depths with this high accuracy’
With the large working distances of the μCMM and its steep measurement angle, it’s possible to measure deep within the cooling holes. However, it’s Bruker Alicona’s newly patented Vertical Focus Probing Technology that defines the future for cooling hole inspection. This futuristic technology enables the unrivalled depth measurement of vertical walls with a slope of over 90% and as such depth data of cooling holes can be collected in one top-down measurement.
To discuss how Bruker Alicona’s leading edge technology could optimise your production process, give us a call at 01858 436940.


