What are hydraulic actuators?
Linear and rotary hydraulic actuators are used in many industries such as aerospace, automotive, robotics and manufacturing. In some of these industries, such as aerospace, the operation of these actuators can be safety critical, and failures need to be avoided. Hydraulic actuators work by converting hydraulic power into mechanical power. These actuators can be found in landing gears, ailerons and rudders, and other essential systems. They have a high power-to-weight ratio but issues can arise if not inspected regularly.
What should hydraulic fittings be inspected for?
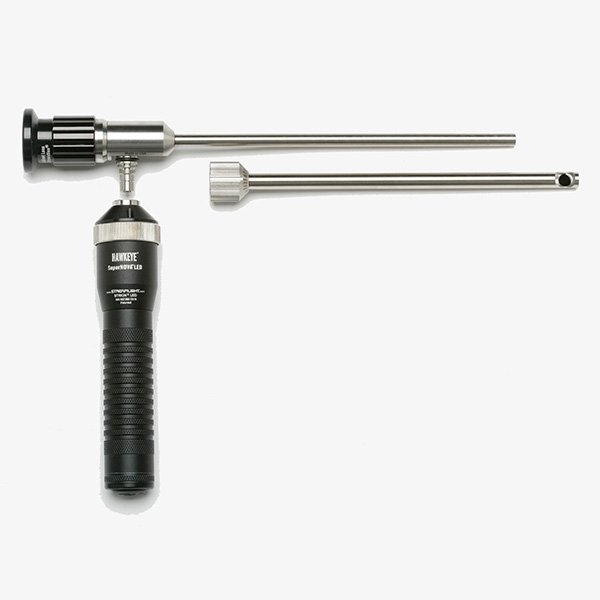
There are a series of general inspection requirements that are fundamental for most hydraulic actuators regardless of their application. Visual inspection is a key part of the inspection process with engineers checking for physical damage such as cracks, corrosion, wear, and electrical connections. Also, at the manufacturing/design stage, force and materials testing is required to understand performance limits and longevity.
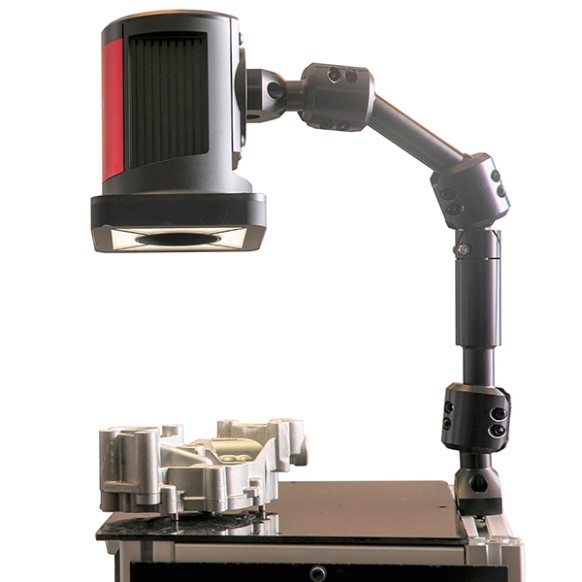
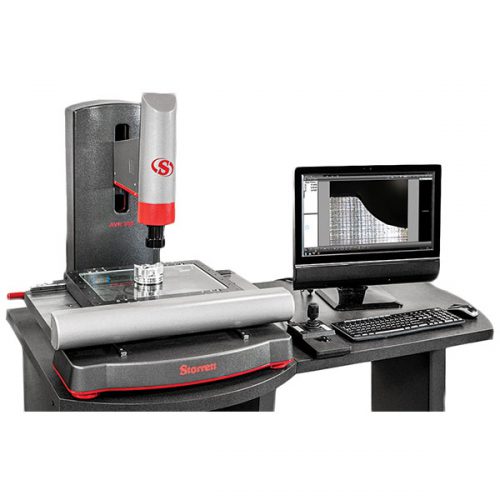
Optimax supply a range of products suitable for inspection and test of hydraulic actuators and related fittings.

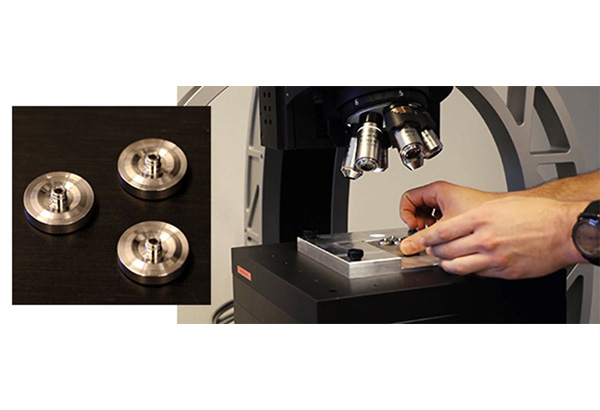
Bruker Alicona G6 system with AR3D
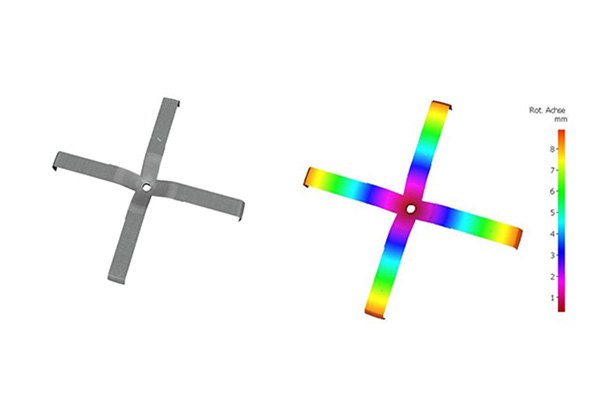
We recommend the InfiniteFocus G6 system fitted with an advanced 3D rotation device. By using IF-AdvancedReal3DRotationUnit, it is possible to measure components around 360° in high resolution, providing an areal analysis of the different required dimensions. This guarantees robust and repeatable quality control in addition to an optimization of manufacturing processes. The Bruker Alicona measurement system also allows for measuring profile and area-based roughness conforming to ISO 4287, 4288, and ISO 25178. User-friendly handling and easy automation using the measurement Inspect measurement module.

