Inspection and quality control is tricky for micro gears
Micro gears play a pivotal role in the seamless operation of precision-engineered reciprocating devices and the intricate landscapes of the watchmaking and automotive industries. Despite their diminutive size, ranging from 1mm to 5mm in diameter, these gears bear substantial responsibility for maintaining optimal performance and longevity. Their small dimensions, intricate designs, and essential functions make the inspection and quality control of microgears a formidable challenge.
Conventional measurement methods, widely employed in larger-scale gear manufacturing, are inadequate when applied to the micro-scale. The intricacies of these tiny crucial components pose a unique set of challenges, rendering conventional measurement techniques both extremely difficult and, in some cases, outright impossible. In response to these limitations, innovative methodologies are needed that can accurately and reliably measure micro gears, ensuring their precision and adherence to the stringent quality standards demanded by various industries.
Advanced optical metrology holds the key
Optic metrology offers a solution to overcome the challenges associated with micro gear measurement. This cutting-edge approach addresses the limitations posed by conventional methods and offers a superior means of achieving accurate and reliable measurements.
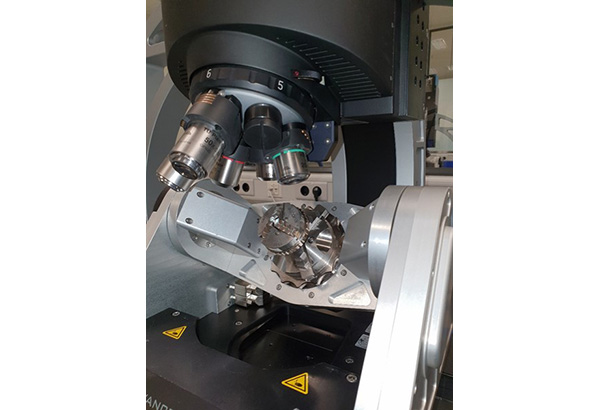
Tools such as the Bruker Alicona G6 are pivotal for overcoming micro gear measurement challenges. This optical metrology solution involves scanning micro gear components facilitated by the sophisticated InfiniteFocus G5+ system. Fitted with an advanced real 3D rotation unit, the gear is securely held in a compact engineer’s chuck, eliminating the need for complex work-holding structures.
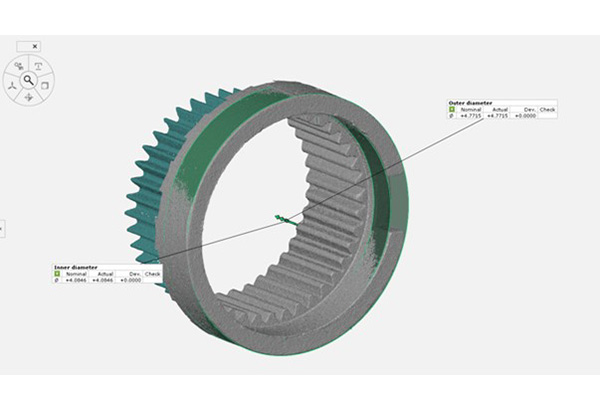
The InfniteFocus G5+ system generates a comprehensive 3D model of the micro gear’s surface. Any defects on the gear are accurately captured during the scanning process, and a corresponding 3D model is created. This model can be visualized in either true or pseudo colour, with the latter representing variations in height. The result is an intricate depiction of the micro gear, showcasing internal and external forms with remarkable detail.
Optical metrology emerges as a robust solution for measuring micro gears. By seamlessly integrating advanced technologies and user-friendly methodologies, this approach revolutionizes the precision and efficiency of measuring micro gears, significantly enhancing their overall performance and longevity.


InfniteFocus G6 system
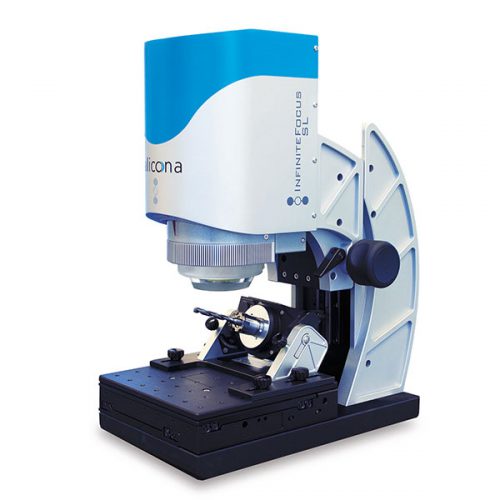
The measurement system used in this report is the InfniteFocus G6 system fitted with an advanced real3D rotation unit, the gear being simply held in a small engineer’s chuck. A feature of the Bruker Alicona measurement systems is that complex workholding is not required for these tasks. The Alicona system uses focus variation technology that provides a measured surface data set of a sample as a result. The surface record is the starting point for further evaluation. With Alicona Inspect software, these parameters are easily measured, and the process can be fully automated. The InfiniteFocus G6 system has applications in R&D, failure analysis and production.


