UKAS Accreditation
It makes a difference…but why?
Each year some of the best technical metrology experts visit us and audit our calibration methods against globally recognised standards, it certainly keeps us on our toes. Continuous improvement is the goal, together with a framework for scalable, consistent output.
We can calibrate your height gauge, but our UKAS lab tends to specialise in optical dimensional instrumentation. The scope of our schedule covers both simple manual devices, like toolmakers microscopes and profile projectors, but also all types of digital and optical microscopes.
Uniquely, we are proud to say we were the first UK company to receive accreditation against ISO 10360-7 standard for coordinate measuring machines (CMMs) equipped with imaging probing systems and still currently hold the lowest measurement uncertainty.
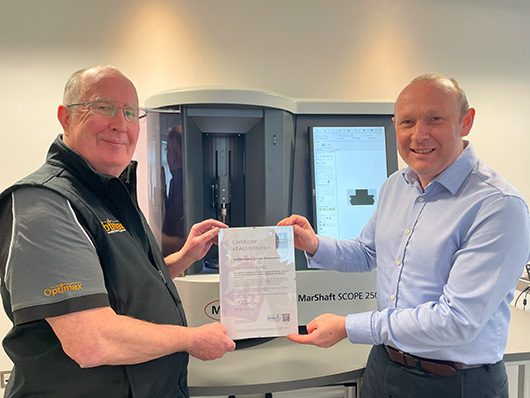
More recently we added optical shaft measuring to our portfolio, another industry first.
Some of the many reasons why UKAS adds value
- It controls the methods and personnel for all activity
- It defines the uncertainty of the measurement
- It provides traceability to a globally recognised standard
- It is not necessarily more expensive than a standard calibration
- It can be delivered both on and off-site
Whatever your service and calibration requirement, contact us for a free, no-obligation, quotation or simply to chat about how you might benefit from the services that we offer.


